Elegant, effortless, and ethereal. Ballet is a surprisingly strenuous sport that requires dancers to gracefully execute arduous movements, resulting in a delicate portrayal of the music that makes it seem as if the performers are almost floating on air. Since the art of this technique requires the dancers to place all of their body weight on some of their smallest appendages, support is imperative. Thus, how do you sew elastic on pointe shoes in order to ensure comfort and safety? We have details to point you in the right direction!
Ankle Strap Method
The ankle strap is the easiest method of application, making it the perfect project for beginners who want to sew the elastic on their pointe shoes themselves.
Step 1: Prepare Your Supplies
All you will need to complete this project is your pointe shoes, elastic, scissors, a needle, and some matching thread. The first step in the process is to estimate the length of the elastic that you will need.
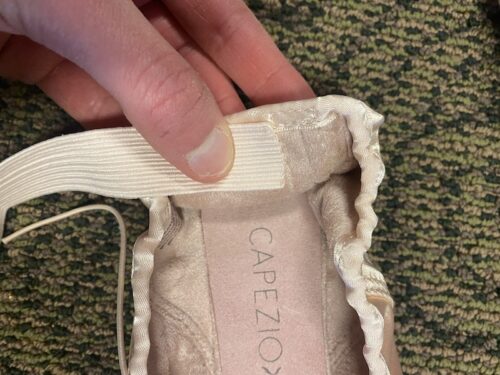
Thus, slip on your pointe shoe and stand up. Then, slip one end of the elastic into the heel of the shoe. Line it up right along the side of the heel seam. Next, stretch the elastic around the front of your ankle and estimate the length needed to slip the elastic back into the heel on the alternate side. Finally, cut off the amount of elastic that you think you will need.
Remember that fit matters. This simple part of the shoe is how you ensure that your foot will stay secure throughout the various movements of the dance routines. Therefore, you want it to be tight enough to supply stability, without causing discomfort or compressing on your foot.
Step 2: Sew The Elastic On Your Pointe Shoes
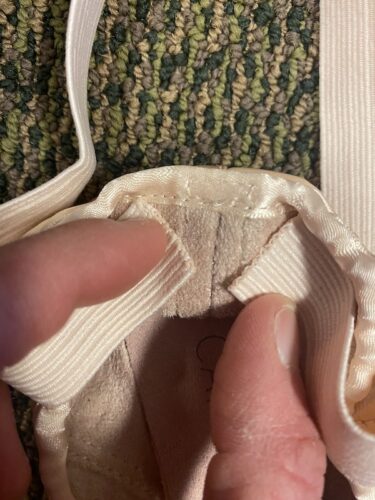
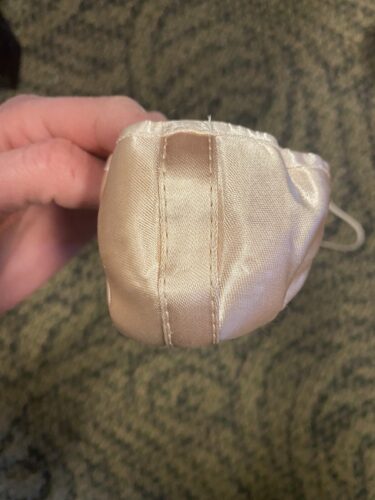
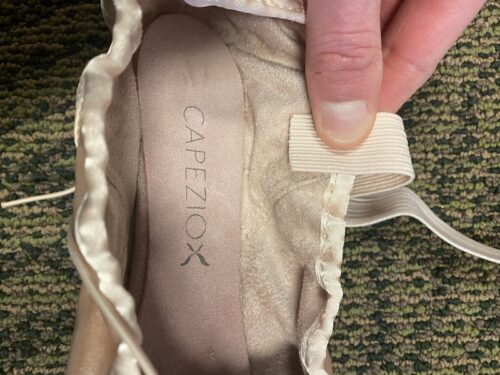
Taking your newly cut piece of elastic, place it at a 45 degree angle against one side of the heel seam. This will create a triangular shape. The key is to position the point of the triangle downwards with one leg placed along the heel seam and the other along the rim of the shoe as seen in the picture above.
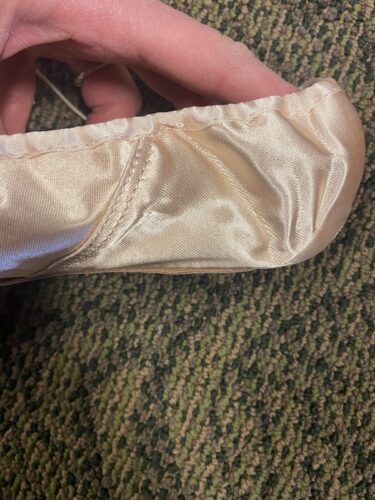
Once situated properly, stitch the elastic onto the first side of the shoe. The intent is to administer the knot on the interior of the slipper and stitch outward to allow for a smooth looking finish. Additionally, apply two lines of parallel stitches on the elastic to ensure that the fabric is secure.
Next, put your foot back in the shoe. Loop the elastic around your ankle once again while standing. Reposition the alternate end of the elastic in the same fashion as instructed above. If the elastic is too long, trim the excess fabric. Then, remove your shoe and stitch the second side of the fabric onto the shoe.
Step 3: Repeat ALL Steps For The Other Shoe
It is extremely important to note that no two feet are exactly alike. In fact, most people have one foot that is slightly bigger than the other. This means that one length of elastic may not be the same for the opposing foot. Hence, you will need to repeat the above steps to guarantee the perfect fit for both of your pointe shoes.
Crisscross Method

The alternate technique is to sew your straps in a crisscross fashion across the dorsal region of your foot (otherwise known as your instep). The required supplies for this method will be the same as for the Ankle Strap method. You will just need more elastic to complete this project.
Step 1: Prepare Your Supplies
As directed above, you must first estimate the amount of elastic required for each shoe. Thus, slip your pointe shoe on and stand up. Then, tuck the first end of the elastic into the heel of the shoe, aligning it with one side of the heel seam.
Next, take the elastic and stretch it across the top of the foot to the alternate side of the shoe. The fabric strap should be situated in the area adjacent to the cuboid bone. Normally, most pointe shoes have a side or waist seam in this region that makes for easy alignment.
Cut the elastic to allow for excess fabric to be situated in the interior of the shoe. Finally, repeat these steps for the alternate strap. Again, keep in mind that you want the strap to be snug, without digging into the skin when worn.
Step 2: Sew The Elastic On Your Pointe Shoes
Unlike the previous method, align the first end of the elastic parallel to the side of the heel seam. Attach it using the same techniques described above, applying two rows of stitches to the fabric.
Then, slide on your shoe and determine if you have any excess fabric that needs to be trimmed. The other side of the elastic will be positioned perpendicular to the side of the shoe, aligning parallel with the side seam. Again, apply to lines of stitches to this side to guarantee that the strap remains secure during use. Repeat steps one and two for the alternate strap. Finally, complete these same instructions for the other shoe.
Final Thoughts
By properly sewing elastic on your pointe shoes, you can better ensure the integrity of your poses and prevent accidental injuries during a performance. However, it is also imperative that you take the time to have your shoes properly sized. If the shoe is too loose, you will not have a stable footing. If it is too tight, it can cause discomfort and potential foot ailments.
Lastly, if you have further questions, do not hesitate to contact your local ballet store to speak with a professional fitter. They can provide insight on how to best complete this project and where to buy the best supplies. Finally, while some shoes will come with the ribbon and the elastic for you to sew on, depending on the style of strap you hope to have, you may need to purchase more to accommodate your needs.